
How to Build a Wood Toy House
As a teacher, you take art classes so that your students can be creative, solve problems, and develop their motor skills. I know you’ve been thinking of teaching them how to make toy houses for some time. That’s why I wrote a complete guide for you regarding wooden toy house building. Yes, in today’s blog piece, you will learn how to build a toy house with wooden pieces. So you could teach your little students how they can construct their toy houses on their own under your supervision. Also, you will be informed about some stores that sell toy house materials and tools at affordable rates.
Now first of all:
Which Materials & Tools Are Needed for a Wood Toy House?
Following are the materials and tools that are needed to build a toy house with wooden pieces:
1. Wooden sheets
2. Tools (e.g., mitre saw, protractor, pencil, jigsaw, foot, and nail gun)
3. Paint boxes
4. Mini furniture
5. Decorative items
Feeling interested to know more! Then, keep on reading.
Pre-Construction Work for a Toy House:
First of all, select wooden sheets for your house based on your students’ age. For ten-year old kids, you can select medium sheets. But these sheets should be non-toxic or safe for children. As kids are kids, you can’t take a high risk with anything that has to be used by your little students.
Afterward, you have to set up your workspace. Select a spacious area and clean it. Then, place a protective mat or table cover over the area for smooth construction work. Create a simple blueprint for the house as well. Also, discuss with your students what the size of a house should be and how many rooms should be within it.
Now let me discuss:
Steps of Creating a Wood Toy House:
Below are the steps to create a brilliant toy house with wooden pieces:
Step 1: Conversion of Wooden Sheets into Planks:
Firstly, get some plywood sheets for your house from a store. You can also use other standard wood type. You also have to purchase gloves, safety goggles, and mask for the wood-cutting activity. Then, cut a wood sheet with a mitre saw by placing the mitre saw on a high flat surface.
Obviously, you can’t allow a ten-year old kid to use a mitre saw, jigsaw, or nail gun after teaching them how to build a wooden toy house. So you’ll have to provide your students with all cut wooden pieces for their home construction activity. Also, supervise your students at all times when they have to construct the house on their own so that they can remain protected.
How many sheets would you have to cut? This depends on how big a house you want to build. For example, first of all, cut three equal pieces. Then, two equal pieces would be cut at 45 degrees for the roof with the mitre saw and protractor. Also, two equivalent small pieces would be cut for displaying rooms within the house. The last wood segment can be cut based on the roof size and house height. I’ll discuss this part later.
Step 2: Construction of the Playhouse:
Lay the foundation of the house by placing one plank on the floor. Then, join the short piece with the long one through your wood glue and nail gun. Repeat the process for the other two planks, one short and one long. But make sure you attach the clamps with the pieces while using your glue so that you could properly attach the pieces. When you attach two wooden pieces each time, an L-shaped item occurs from the joining end to the other end.
Now you have to build the walls for your house. Attach two long wooden pieces with the base of your building through your glue and nail gun. Then, attach these L-shaped pieces with the building horizontally. It’s time to build the roof of your house. Now attach the pieces that were cut at 45 degrees with one another. Also, join them with the wall pieces. In the end, measure your house from the roof to its base with a foot. Then, cut a wooden sheet with a jigsaw as per your measurement and add the plank with your house.
Step 3: Finishing touches for the Playhouse:
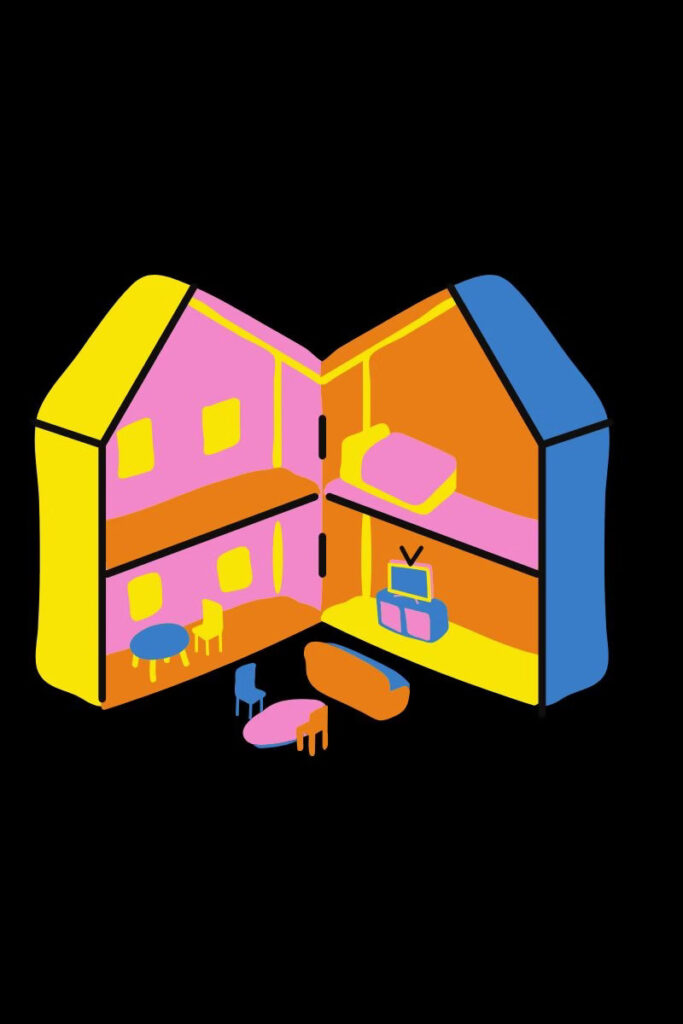
Paint your house now. Whiten the walls with the non-toxic paint internally and externally. And for the roof, apply the red paint. Add small furniture within the house. Also, add decorative items within the house like small artificial vases, flower pots, and wall pictures. You can customise the house the way you want by adding additional stories or anything else.
Well, I know that some frequently asked questions might be hovering in your mind. So get their answers below.
FAQs
How Long Does It Take to Create a Wood Toy House?
The time which your toy house building can take depends on the design of your house. A house with a simple design should be completed within a few hours. On the other hand, if you want to create a toy house with an intricate design, your building work can be completed within several days.
What Are Child Age Recommendations to Build a Wood Playhouse?
To build a wood toy house under adult assistance and supervision, a child should be 10 years old or older. The children can build toy houses with simple building blocks if they are at least five years old. Anyhow, adult assistance and supervision is necessary for kids in any house construction activity.
What Kinds of Wood Are Best for Creating a Toy House?
Pine, poplar, plywood, alder, and cherry are commonly used wood types that are applied for building toy houses. Choose any wood type you want but make sure it is sturdy, easy to handle, and safe for use. As kids also have to deal with the wooden pieces, your wooden planks must be easy to handle, durable, and free from harmful chemicals.
How Do I Clean a Toy House?
Apply some mild liquid soap on the house and wipe the house with a damp cloth. But don’t soak the toy house so that warping couldn’t happen.
Can I Make a Playhouse Expandable?
You should construct separate house sections that can be reconnected or rearranged. And use interlocking pieces or magnets for the simple assembly of your toy house.
Can I Make a Playhouse Waterproof for Outdoor Activities?
Yes, you can. You should use water-resistant wood like cedar for making your toy house or apply a waterproof sealant on your house to make it waterproof. Then, you can reliably use it for outdoor activities.
You might be wondering:
Which Sites Sell Affordable Toy House Essentials & Tools?
Building a simple toy house requires basic building and painting skills. I hope you now know how to build the house properly. But you can’t do the work reliably if your building materials and tools aren’t good enough. Obviously, your budget also matters with the quality of these items. So you should visit the following sites if you want to get effective and affordable toy house essentials and tools for your classes:
In Short:
So that’s all what I have to share with you regarding how to build a toy house with wooden pieces for kids. I hope you like my content. If you really like what I shared with you, then please share my page with your connections. In this way, they can also know about the steps and visit the sites for toy house building materials and tools. Until my next post, stay in touch with me.
The content is super helpful and well-explained! Loved how easy you made it to follow.
Thank you for your feedback.